Step 1 :Download the WireGuard Installer
Click on this url https://download.wireguard.com/windows-client/wireguard-installer.exe to download wireguard
Step 2 :Install WireGuard
Locate the downloaded .exe file in your downloads folder. Double-click the file to run the installer. Grant administrator permissions if prompted. Follow the on-screen instructions to complete the installation

Step 3 :Configure a New Tunnel
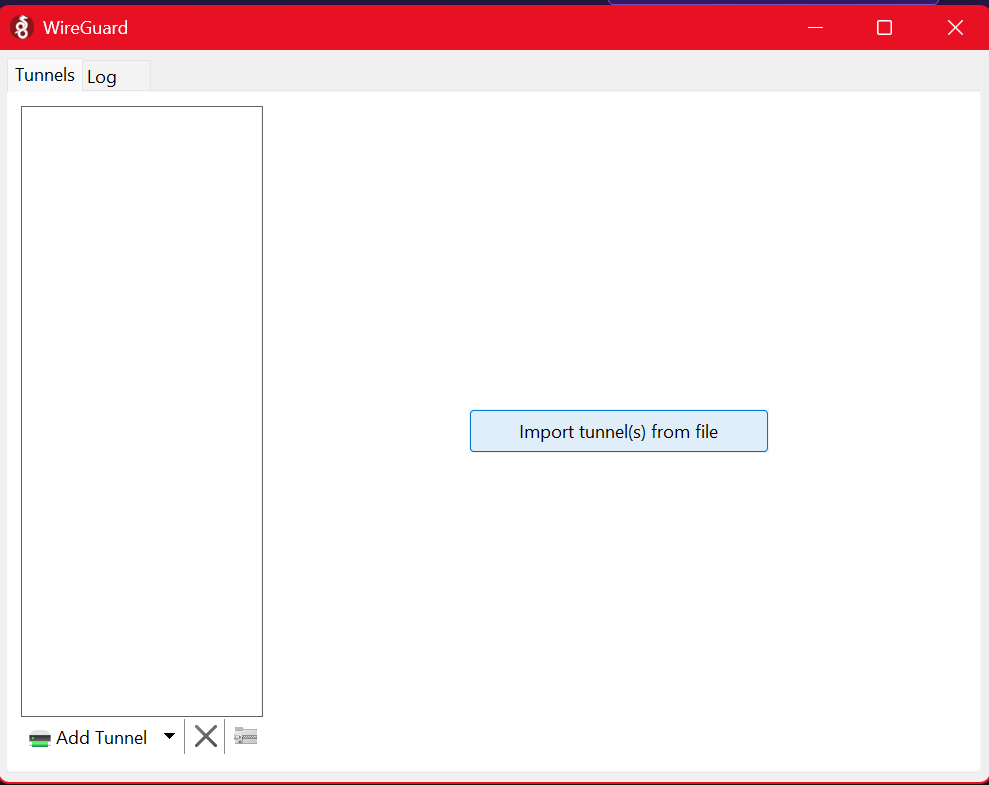
Open the newly installed WireGuard application. Click on the “Import tunnel(s) from file” button located on the right of the application window.
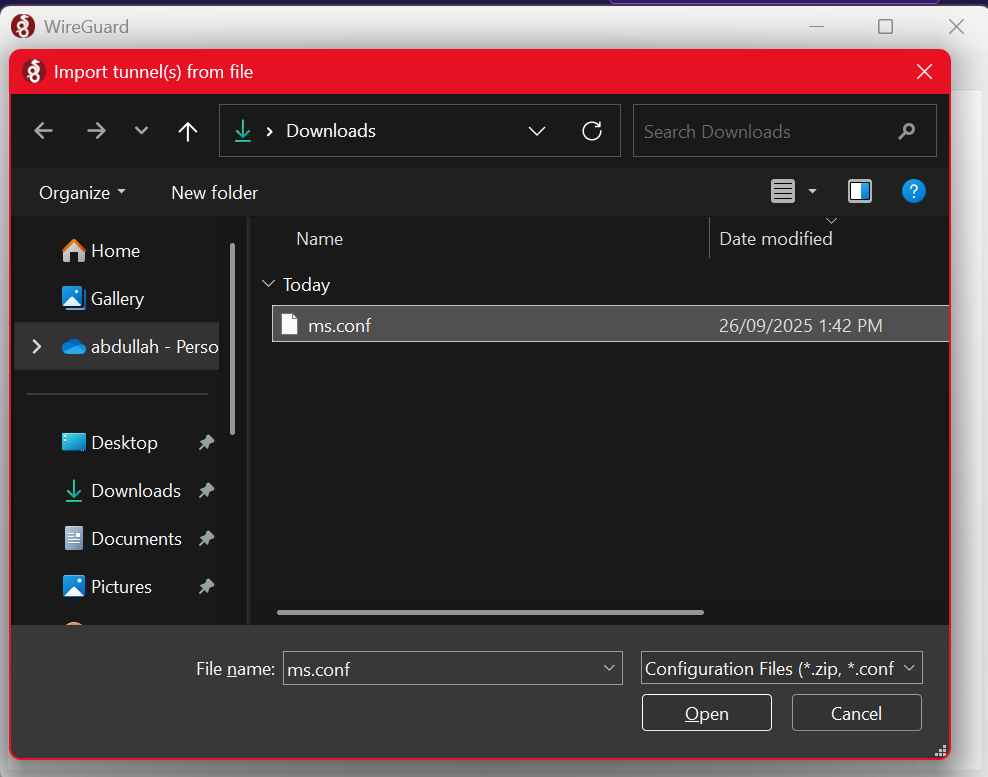
then select .conf file in my case it is ms.conf as shown in the image below.
Step 4 :Starting VPN
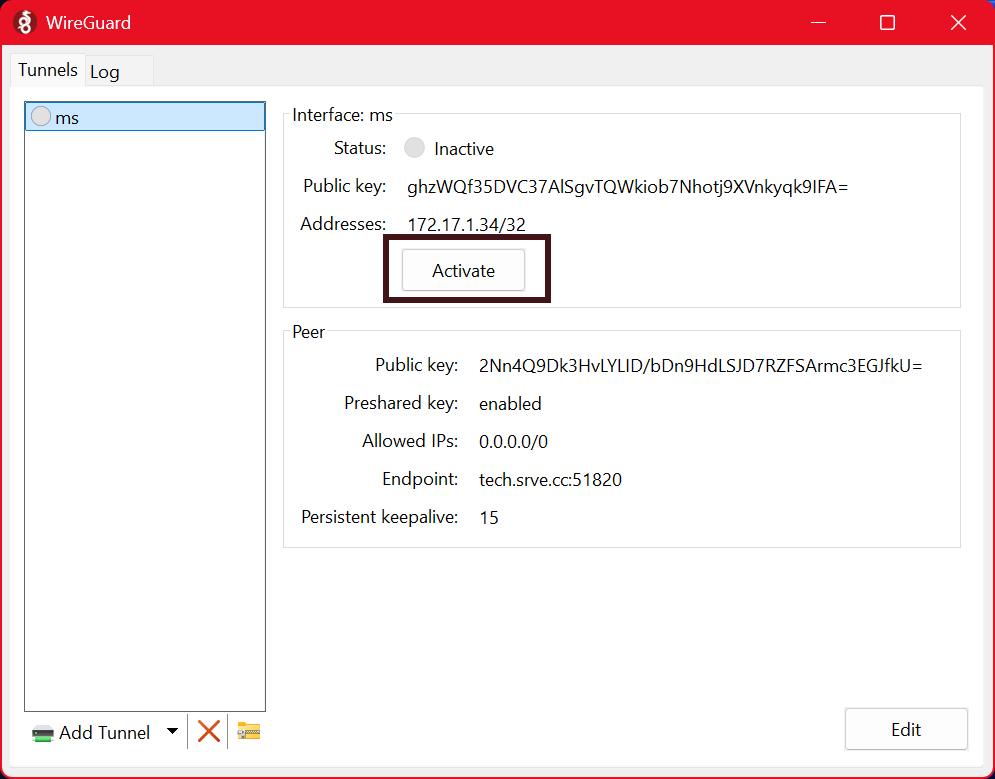
Now you will see that WireGuard has created the tunnel on your Windows 10 machine and it is ready to connect. If you click on Activate it will connect the tunnel and you are good to go:
Step 5 :Final Check Traffic
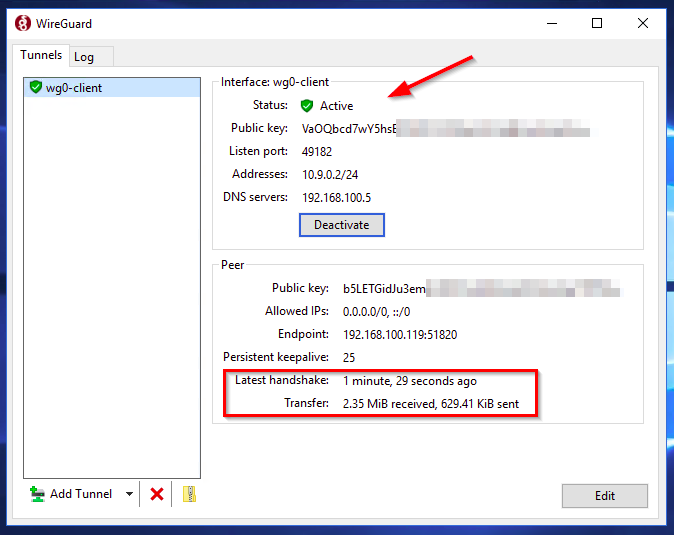
After connecting the tunnel you will see that all traffic from you Windows 10 client now goes trough your WireGuard server:
You have successfully installed WireGuard. -_-