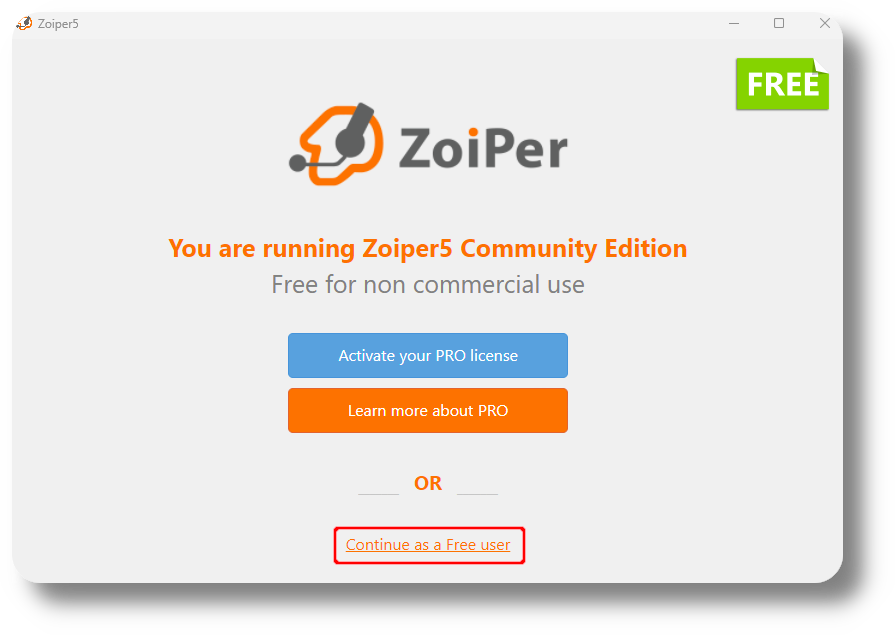
Step :1
Upon opening Zoiper for the first time after installing it select “Continue as a Free user“
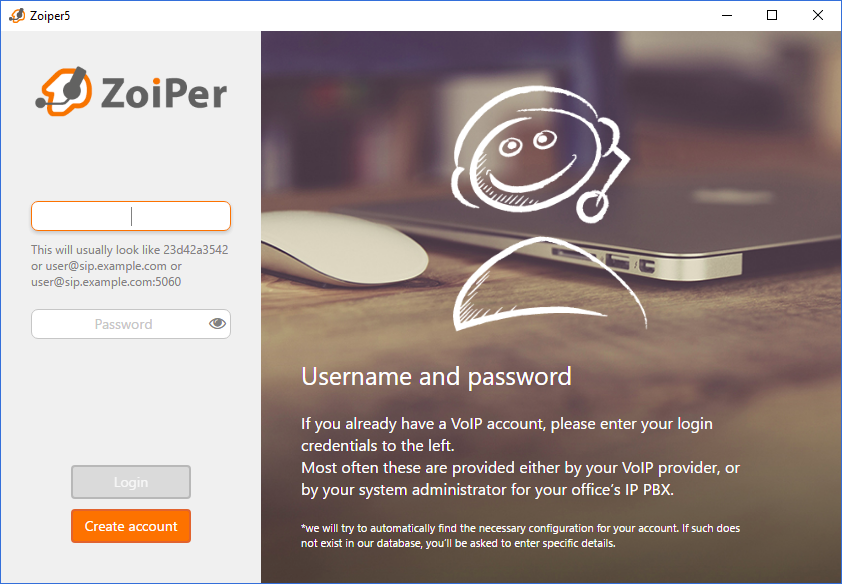
Step :2
After you have installed and activated Zoiper5, it is time to move on to the configuration of the server you want to use. This could be a VoIP provider or your office PBX.
If you already have an account, fill in the username on the first line and the password on the second line. The username could look like:
120201099
or
120201099@fusn04.srve.cc
The password will typically be a random string, usually with a combination of lowercase and uppercase characters and some number like: dH023TPfhx
Note: get your username and password from your service provider
Clicking on the “Login” button will lead you to the next step.
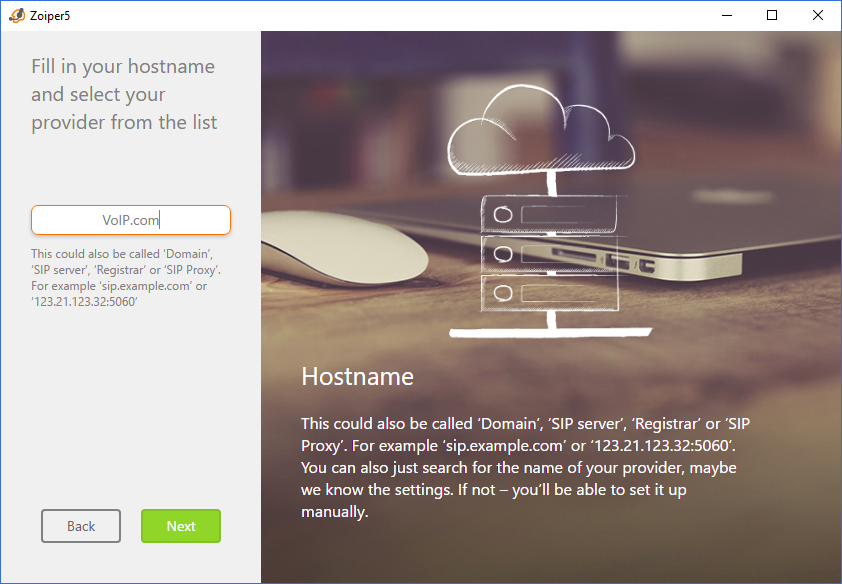
Step :3
If you have previously filled your username as: username@domain, the hostname of your server will be auto-filled. Otherwise you need to fill it manually.
domain/hostname of your server will be like:
fusn04.srve.cc
Click “Next”.
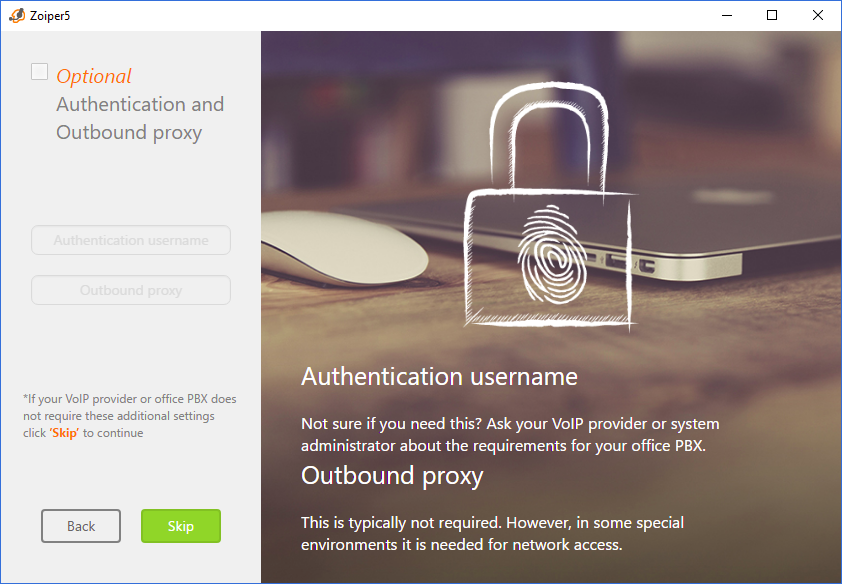
Step :4
This step is optional. Some VoIP providers however, require that you fill Authentication username or Outbound proxy.
If you have not been provided with such credentials you can skip ahead.
Clicking on the “Skip” button will lead you to the next step where Zoiper will probe for any available transports for your account:
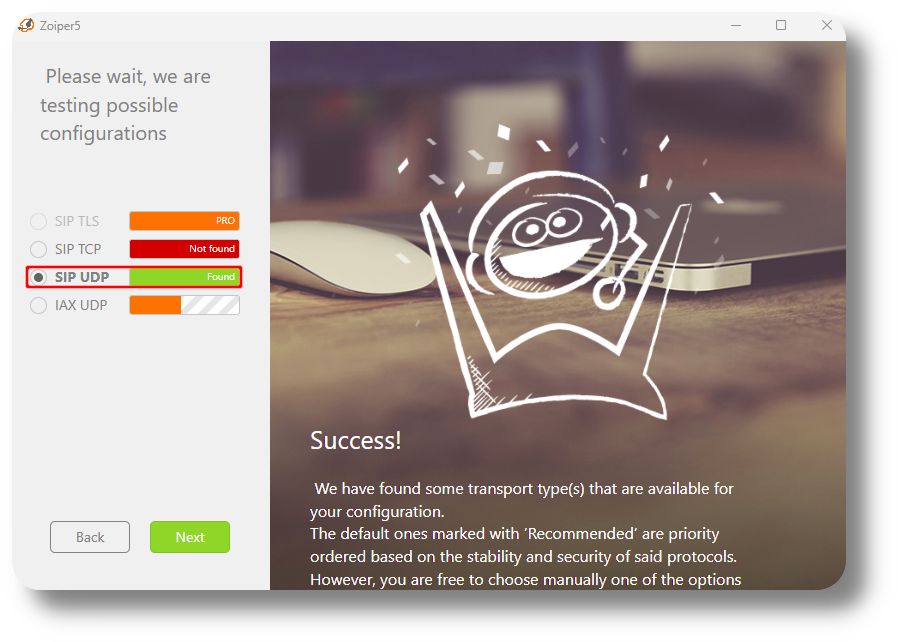
Step :5
If UDP is found,the click on next you are good to go , if in other case not found make sure your username,password,domain is correct otherwise it will not work. sometime by going back and then coming back also make it work if all credentials correct still not working take help from us .
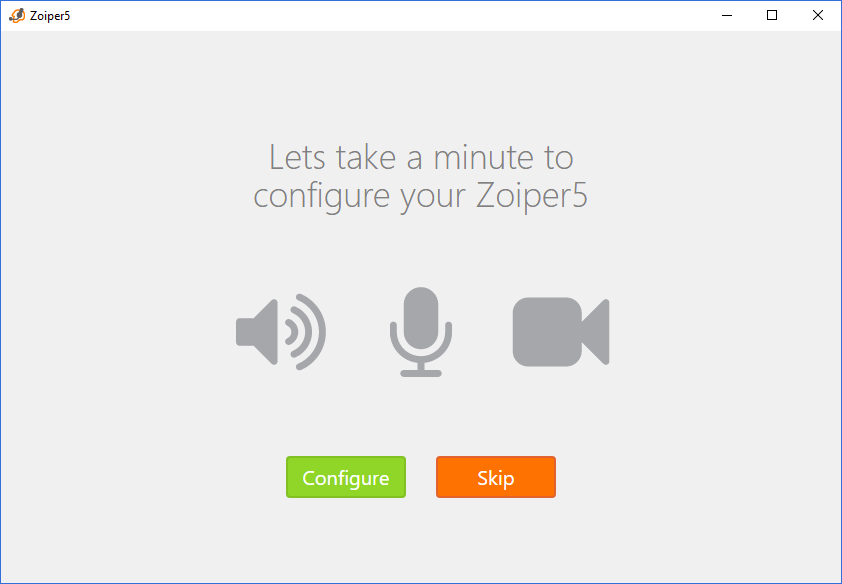
Step :6
Clicking “Next” will present you with the Zoiper Audio Wizard where you can configure your headset and camera.but they are pro features.
Just choose “Skip” then your are good to go.
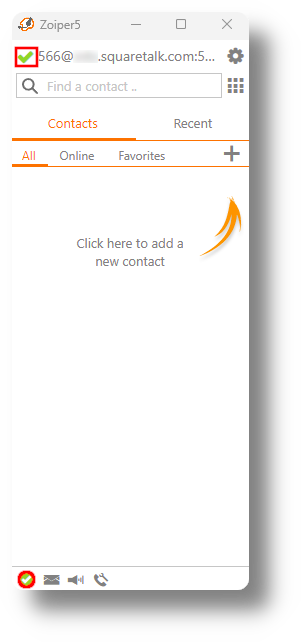
Step :7
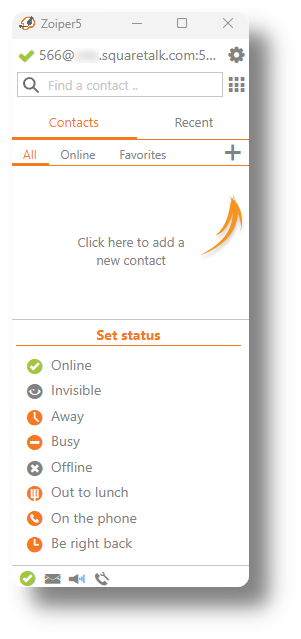
After this the account will be logged in and you should see the green tick both on top next to the Username and bottom right for the current status from where you can also change it if required:
That’s it — your configuration is complete. -_-